I started this week struggling to come up with an idea for a Facebook group challenge and now my creativity has taken over!! I have created 6 cards, and 1 (technically 3) wood projects for the wood challenge. I still have so many more ideas to work with now! I am still working on refinishing my bathroom cabinet, and I definitely welcome the break from sanding the fine details of this thing. It has been extremely time consuming and I can see the end.. but not sure how soon I will get there. I have 1 drawer and 3 cabinet doors to finish sanding before I can work on staining it and replacing the counter top. That will be a post for a different time, though! Remodeling the bathroom (more or less) myself will definitely be post worthy!
In the mean time, here are some of the things I have been working on this week:
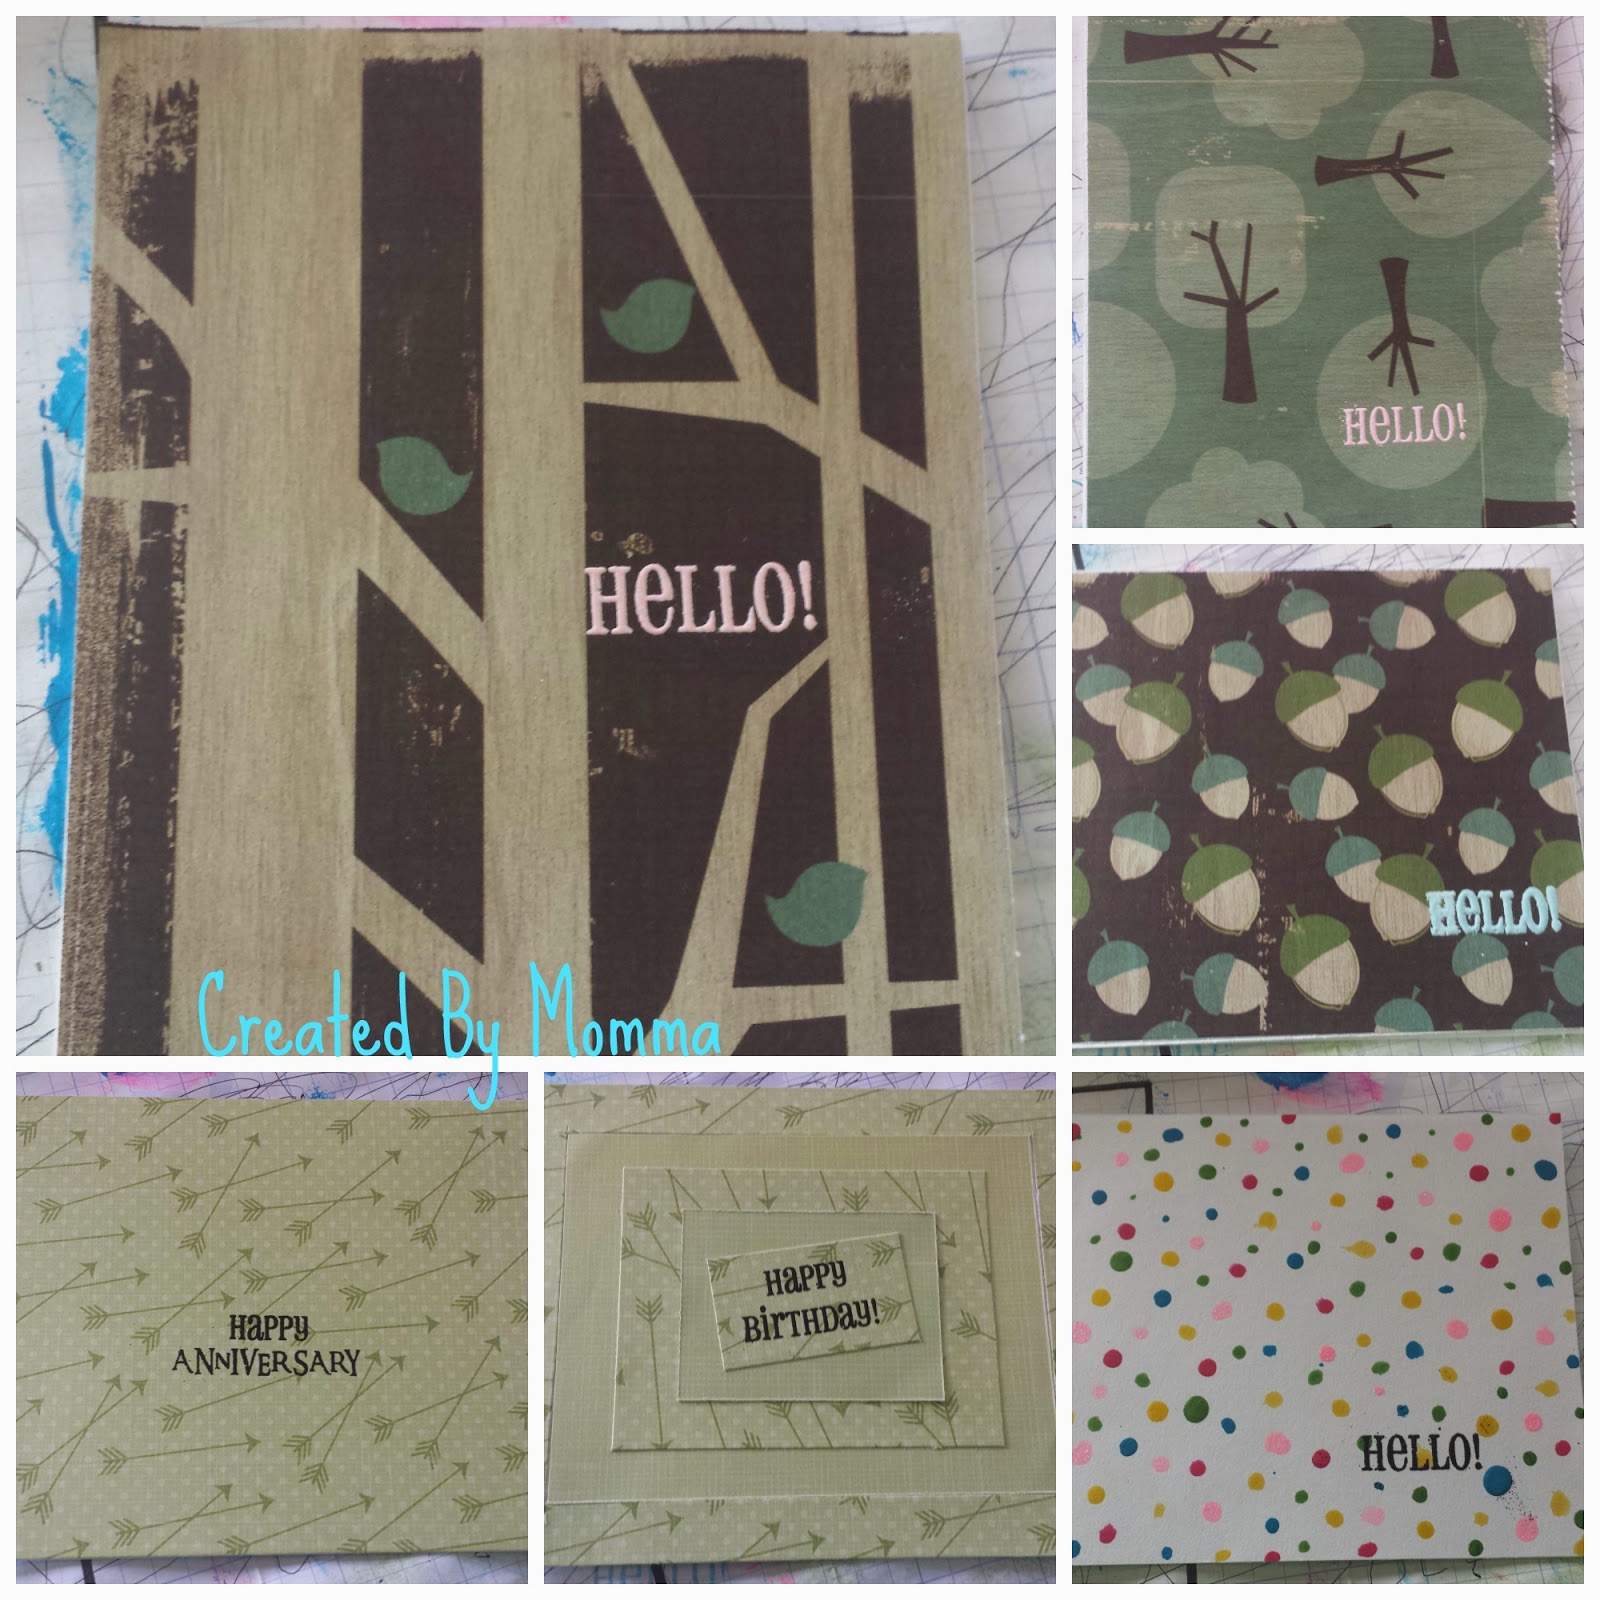
Above: The cards that I have created this week. 5 out of the 6 are in some way related to wood, and the last one is not. I actually used nail polish to create the fun dots. All of the sayings are embossed on using my embossing powder and my craft heater. I forgot just how much I love this technique!!
Below: A few of the steps in my wood project. I tried it with a black and white photo (not shown) and didn't like the way it looked. When I tried it the next two times, I used color photos, but I am not sure how much I like them either. I completely forgot to flip the images, so they are backwards and it kinda bothers me. The family picture turned out the nicest, but the other two didn't look all that bad. It is a learning process. I am not sure that anyone can get it completely right the first time. I tried all 3 on the same piece of wood. I think I finally have my technique down, and will pick out a piece of wood to do a single picture on.

The process for my photo transfer to wood is a pretty simple one. You need only a few materials and a lot of time and patience! I printed the pictures out at different qualities and I really think that made a difference. The B&W photo (not shown) was printed at photo quality but on regular printer / copy paper and it turned out to be a lot darker and the color transferred to the wood much nicer than the two color pictures. They were printed on standard or fast print, as I was trying not to use too much color ink. I think if I would have printed them the same way I printed the B&W one, I would like them a lot more. Anyway, you need:
A picture printed out on regular printer paper
A piece of wood
Mod Podge (I used Matte, but you can use any finish you want)
Gel Medium (I used Liquitex Gloss Heavy Gel)
A sponge brush (like the one seen in the photo above)
A damp wash cloth (you don't want it to be soaking wet... but you don't want it to be too dry)
About 24 hours of time
Start by taking the gel medium and applying a nice even coat over the picture. Make sure not to do too much. Place the picture - photo side down onto the wood. Use something with a straight edge (I used a Pampered Chef stone scraper) to smooth out the picture. I started in the center and worked my way toward the edges. Then, the long part comes. I waited 24 hours to give it plenty of time to make sure the color set. After the long wait time, you are going to start with the damp wash cloth. I started in the face area of the pictures and went in a circular motion. It will start to remove the back of the paper. It will start to clump up and sort of ball up. I ended up with a bunch of pieces on my lap and all over the table. You also want to check your wash cloth every so often. I kept moving to a clean area, and picked pieces of paper out of the rag. It wasn't difficult to remove the paper, but you do want to go slow. If you go to fast or push too hard, you might scratch or remove an area of the photo you wanted to stay. I think that is the hardest part of this entire process. That is why I started with the faces, and then worked my way out. I found I was much more careful at the beginning. I also took my fingers and went over the entire thing. It helped to be able to feel if there were any pieces of paper left. On the last one, I did run the (by this point) almost dry rag over it again. It was just enough to loosen up the last few pieces of paper that were still holding on (the largest picture of the collage shows what I am talking about). When you are finished with this step, let it dry completely. It doesn't take very long. Then, I put a nice thin coat of Mod Podge over it. Once that is dry, you are done! I have seen some people will continue to decorate theirs with a wooden letter or word that corresponds with their picture.
Have you ever tried to make one of these before? How did it turn out?


No comments:
Post a Comment